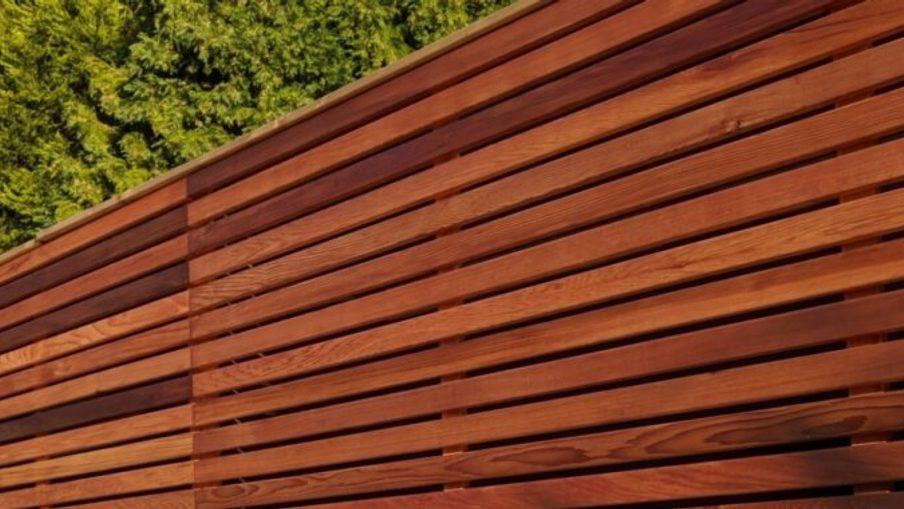
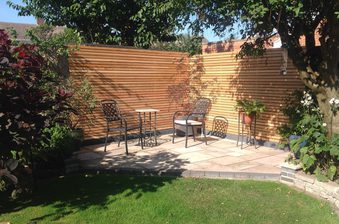
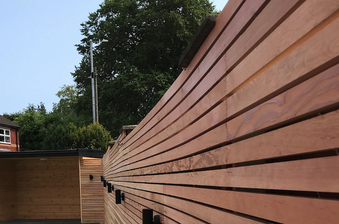
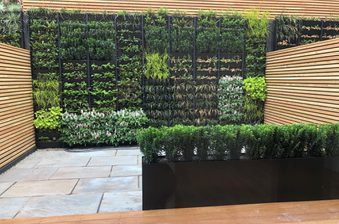
The value of a garden fence is so often overlooked. It adds curb appeal, style and, perhaps most importantly, privacy and security.
So, how do you give your property’s perimeter the best possible chance of looking and performing its best for as long as possible?
The rewards of a little treatment and timely maintenance can be reaped for years to come. Courtesy of our expert team, here’s everything you need to know about timber garden fence treatments, maintenance and ongoing care.
The best treatments & oils for a garden fence
Moisture and UV are the key culprits for a fence looking worse for wear. They can lead to wood-decaying fungi and photodegradation (where the wood gradually loses its colour and turns a silvery-grey).
These processes can be offset with treatment. These can enhance the beauty of the timber and help it to retain its colour, or alter the colour to suit your project vision. Just as importantly, they contain fungicides and insecticides, preventing rot and decay.
- Clear and colourless: If you’re looking for something that won’t alter the appearance but will protect it from those aforementioned nefarious microorganisms, consider a clear treatment (like Owatrol H4 Wood). With no UV filters, water-repellent treatments like this allow the colour of the wood to remain unchanged and slowly weather to a distinguished silvery-grey, but help to avoid any structural issues caused by moisture and wood-decaying fungi.
- Semi-transparent (water-based): Water-based stains can alter the colour slightly whilst offering a very good level of protection, containing fungicides that protect your fence. They’re often seen as less messy and more environmentally friendly than their oil-based counterparts. For a long-lasting, matt finish, perhaps look at a product like Owatrol Aquadecks. It’s non-film-forming and available in a range of tints and shades which can actually help to enhance the beauty of the wood.
- Semi-transparent (oil-based): Like water-based stains, these can provide a desirable change in colour whilst enhancing the beauty of the wood’s grain. As a rule, oil-based stains tend to absorb and penetrate deeper into the timber, thus providing higher levels of protection, although can be slightly messier. Take a look at Owatrol Textrol HES as an example of a powerful, oil-based wood stain.
- Solid-colour: Also known as paint! There are many fence paints that offer excellent, long-lasting and robust protection from the elements. Of course, this comes at the expense of completely changing the colour of the fence and essentially obscuring the natural beauty of the grain.
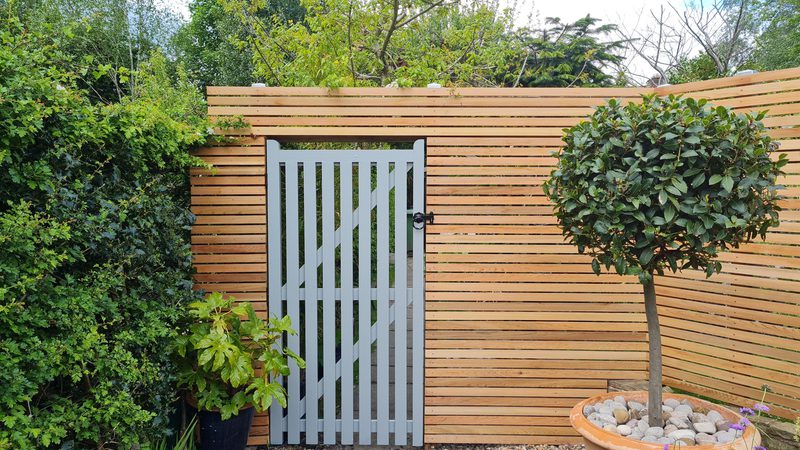
- No treatment at all: Many types of wood — such as naturally durable timber species like Western Red Cedar, Siberian Larch and Iroko — are highly resinous and can withstand outdoor elements without any need for treatment. A great way to attain those sought-after silvery-grey hues which are so popular at the moment without any potentially environmentally damaging treatments.
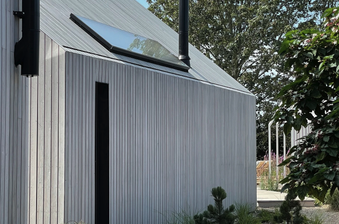
Another solution is factory finished fencing — which, as the name suggests, means it’s already been professionally coated before delivery. This guarantees the use of the very best treatments and application methods for a stylish, durable end result. You can choose from a range of designer colours — a few favourites in our ColourFlex range are grey, charcoal and natural.
If you’re not using concrete, don’t forget the posts, too — particularly the part that will be planted in the ground. Before being planted, your posts should have been treated by being dipped into a preservative for around 24 hours. Many fencing posts you’ll buy from DIY and home improvement stores will be pre-treated.

Applying your treatment: key considerations
Should I treat my fence before or after installation?
We’d recommend applying your chosen treatment around a month or two after it has been installed. This gives a suitable amount of time for the wood to dry and its moisture content to decrease, making it more amenable to treatment uptake.
Of course, if your fence is already installed, be sure to mask off any areas like patio stone, concrete and plants before diving into treatment application; a protective sheet on the grass is a good idea. You may also want to cut back any greenery that could encroach on the job.
Fence treatments can be harmful to aquatic creatures, so keep well away from ponds, drains and the like — particularly when still wet.
What time of year should I treat my fence?
The optimal conditions are mild and dry, so a warm spring or summer day are ideal.
Moisture and humidity can increase the risk of coating failure, whilst too much heat or direct sunlight can cause the treatment to dry too quickly, affecting the level of protection it provides. To further complicate matters, a temperature that’s too low can prevent the treatment from drying properly.
Should I use a brush or spray for treating my fence?
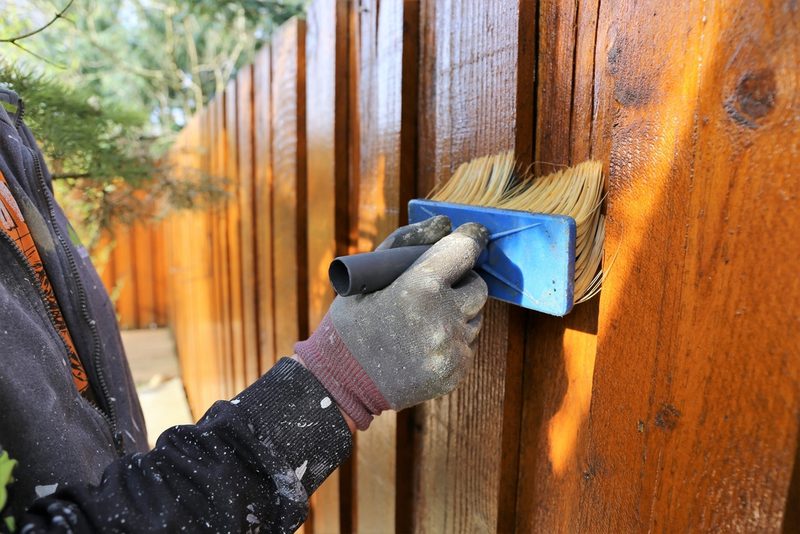
For quality and consistency, we’d recommend using a natural or synthetic bristle brush. If you’re short on time, however, a sprayer can still provide solid results.
The benefit to opting for a brush is that it ensures an even, consistent application. We’d recommend starting at the top of the panel, using a generous amount of stain, and working your way down, going with the grain. This allows the treatment to penetrate the wood. Be sure to work your way into the cracks and corners where moisture often sits.
Before application, make sure the fence is clean. This shouldn’t be much of an issue for a new fence. Just to make sure you’re happy with the treatment chosen, test a small, inconspicuous area of your fence to make sure the colour is desirable.
How many coats do I need?
2 usually does the trick, but make sure to follow the guidance on the specific product you purchase. The absorption qualities of the wood also play a role.
Garden fence ongoing maintenance
Treatment reapplication
Over time, your chosen treatment will begin to wear thin. The time this takes will depend on a number of factors: the exposure to the elements, the type of wood and the transparency of the finish — more opaque finishes last longer.
As a rough guide, water-repellent preservatives benefit from being reapplied every 1–2 years, whereas stains do the job for around 4 years — give or take — before needing a top up. Paints can last in excess of 8 years. Check the product manufacturer’s guidelines for a more precise guideline.
You can also eyeball these things. If rainfall is soaking in rather than beading up on the fence, then it may be time to reseal.
Again, when the time comes for reapplication, try to do so on a dry, but not too humid day, allowing time for the panels to dry out sufficiently.
Cleaning your fence
Good practice is to give your fence an inspection every six months. A gentle clean down with a scrubbing brush and some soapy water will help you stay on top of any mildew buildup.
You can also use a power washer to clean your fence, but make sure the setting isn’t too high. Make sure to start quite far back and work your way closer if needed. You can use fresh water, but there are some fungicidal washes that you can use to take your protection up a notch.
A regular garden hose set to the spray setting can also do a job!
How to restore an older garden fence
A streaky silvery-grey, your once-youthful fence might be starting to show its age — or perhaps you’ve recently come into ownership of a fence that is a bit past its best. No bother…
1. Clean it up and strip it back
If the fence is an appealing style and is still structurally sound, it might be worth restoring. Give the posts a good shake — are they showing any signs of movement, or can you see any rot? If not, you’re good to go.
Firstly, remove any dirt with a pressure washer and scrub away any mould or mildew with a weak bleach solution.
Once dry, you’ll need to remove previous finishes with a stain stripper like Owatrol Net-Trol. Start by sanding each panel down, then clear away any remaining debris with a stiff bristle brush and then apply your stripper. This will reveal a fresh, new layer!
2. Fix it up
Once dry — this usually takes between 24 and 48 hours — any small breaks in the fencing panels can usually be fixed by glueing split pieces. If the fence panel has extensive damage and the posts still seem steady, you might want to source a similar-looking replacement panel.
Too much splitting, warping or cracking across the whole structure might mean it’s time to completely replace the fence — over time, you’ll just have a whac-a-mole job on your hands!
3. Finish things off
Depending on the look you’re going for, apply your finish — either a clear preservative, semi-transparent stain or solid-colour paint of your choice (see the first section on treatments!). Make sure to check and replace any loose or old fixings!
If you’re looking to maintain the classic grey aesthetic but want to give your fence a layer of defence, skip the sanding down. Simply clean the panels and apply a colourless, waterproof protection like Owatrol H4 Wood.
Got a fencing project in mind?
With the right treatment and occasional TLC, expect decades of service life from your fence. But if yours has seen better days, then maintenance can become a little more effort than it’s worth.
We offer slatted timber fencing in a range of beautiful, durable species like Western Red Cedar, Siberian Larch, Iroko, Douglas Fir and Thermo-Ayous. Everything is sustainably sourced and machined to profile on site by us. We have a number of carefully chosen quality woodcare finishes, to keep your wood looking its best.
If you’d rather not worry about finishes, we also stock factory-coated fencing — ColourFlex. The range comes in three stunning choices: grey, charcoal and natural.
Don’t hesitate to get in touch using the button below or through our website contact page — we’d be delighted to help.
