To maximise the beauty and lifespan of your timber cladding project, don’t miss our expert lowdown on treatment options and maintenance.
In the UK, your exterior cladding will encounter rain, snow, wind and (occasional) sun — sometimes all in one day! This can take its toll, impacting appearance and even structural integrity.
UV has a bleaching effect, causing photodegradation that results in a silvery-grey appearance. Changes in moisture that occur every day can cause warping or cracking.
This can all be offset with a well-chosen treatment backed by occasional maintenance.
Note: We do not receive commission or sponsorship for any products recommended in this guide. These treatments are what we genuinely believe to be the best — but, of course, many excellent alternatives exist.
Timber cladding treatments: stains, oils and other options
We’ve grouped the treatment options available into five categories: untreated, transparent oils, semi-transparent stains, solid-colour paints and factory treatment.
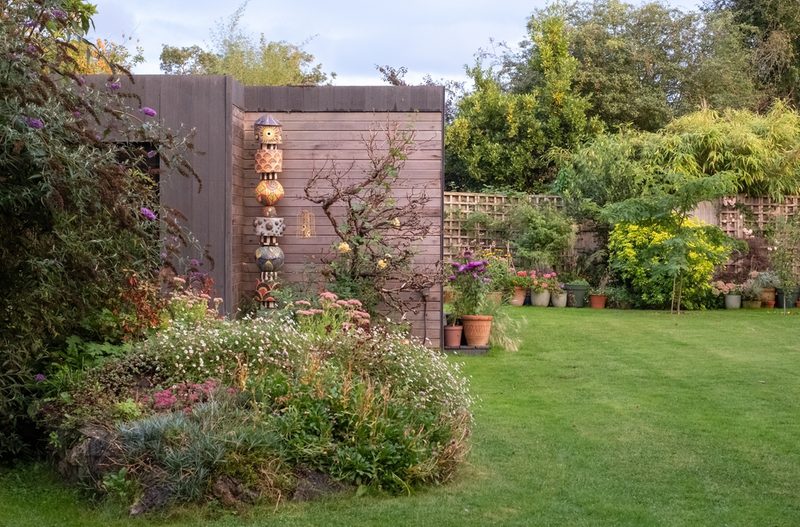
1. Untreated
Yes, you heard that right — as long as you choose a robust, weather-resistant timber species, then your cladding can actually be left without any treatment at all.
Woods like Western Red Cedar, Siberian Larch, Douglas Fir, Thermo-Pine, Thermo-Ayous and European Oak have natural preservatives that help to guard them against insect attack, rot and moisture.
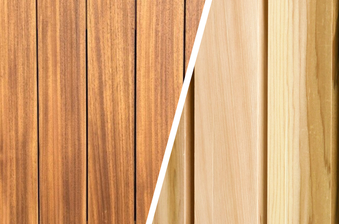
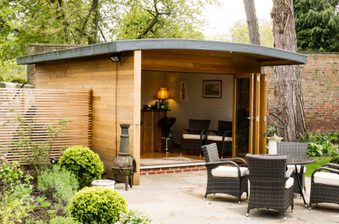
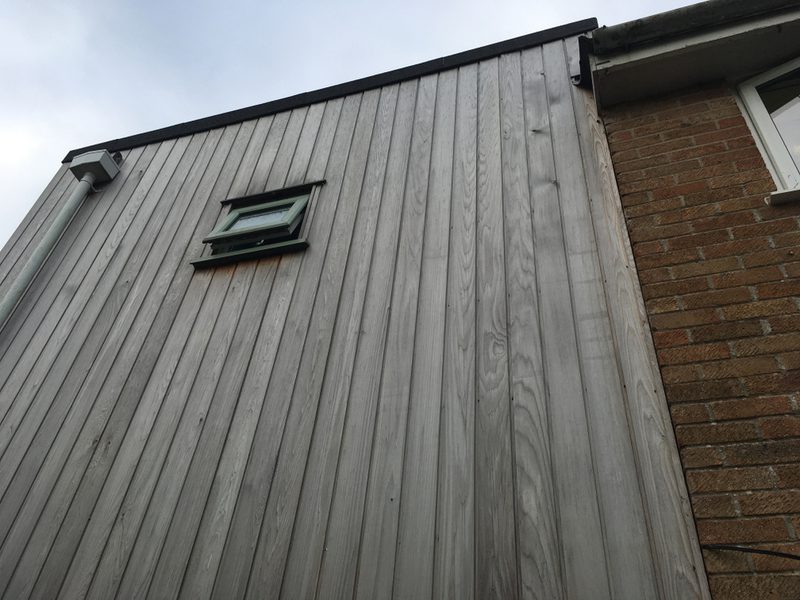
After approximately a year of outdoor exposure, your cladding will start attaining those alluring silvery-grey tones. This grayscale ‘old’ look is hugely on-trend, popular for creating a rustic space that’s at one with nature.
If a year sounds like too long, you can even buy weathering accelerants to speed up this process. Be sure to do the occasional inspection to ensure your timber’s in great shape; having no treatment does leave you more susceptible to moisture-related damage.
2. Transparent preservatives
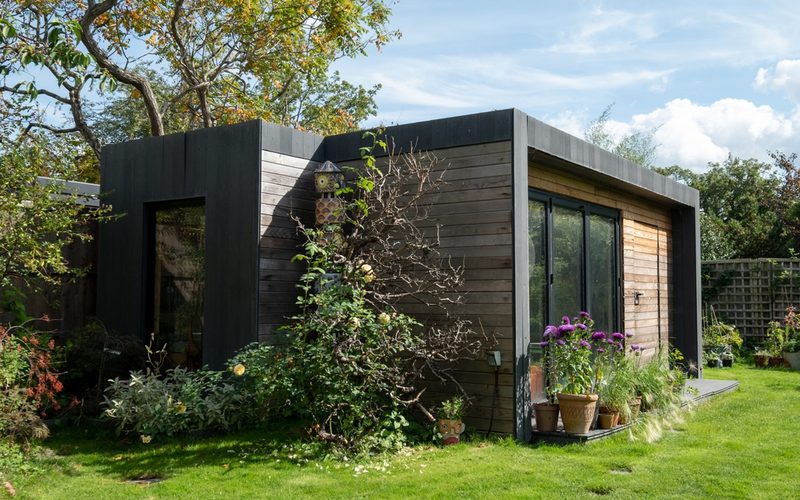
Like the idea of gradually attaining the trending grey look, but want to protect against any potential damage? A colourless, transparent preservative like Owatrol H4 Wood is the cladding treatment for you.
This seals your wood against moisture, the biggest culprit for warping, splitting and cracking. Transparent treatments don’t contain UV filters and won’t affect the appearance of your project, so your timber will still age gracefully to that distinctive, on-trend silvery-grey.
3. Semi-transparent stains
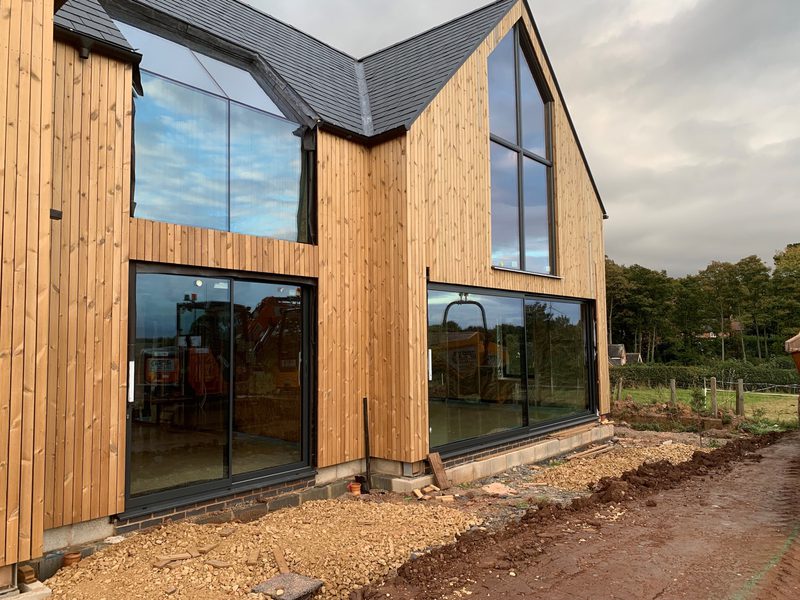
If you’re keen on retaining your cladding’s original colour, then a semi-transparent stain will drastically slow down the greying process whilst providing excellent weatherproofing.
We’d recommend a powerful, penetrating oil-based UV protectant, like Owatrol Textrol HES. This is available in a range of tints, from clear to charcoal — so you’ve even got some control over the finished look. Water-based semi-transparent treatments, like Owatrol Aquadecks, are similarly excellent, providing a long-lasting, rich finish.
These stains can also help the grain pattern to pop, accentuating the wood’s natural beauty. Whichever treatment you choose, make sure it is penetrating and non-film forming, to avoid peeling and flaking.
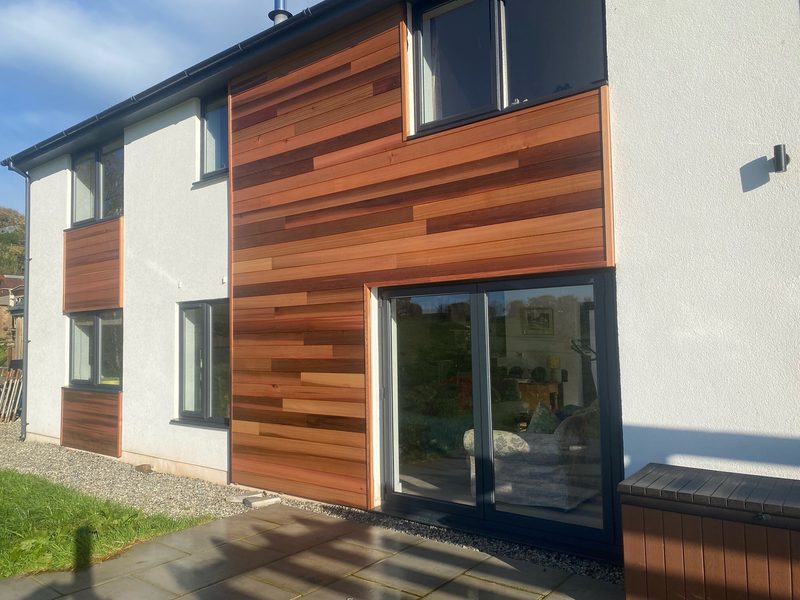
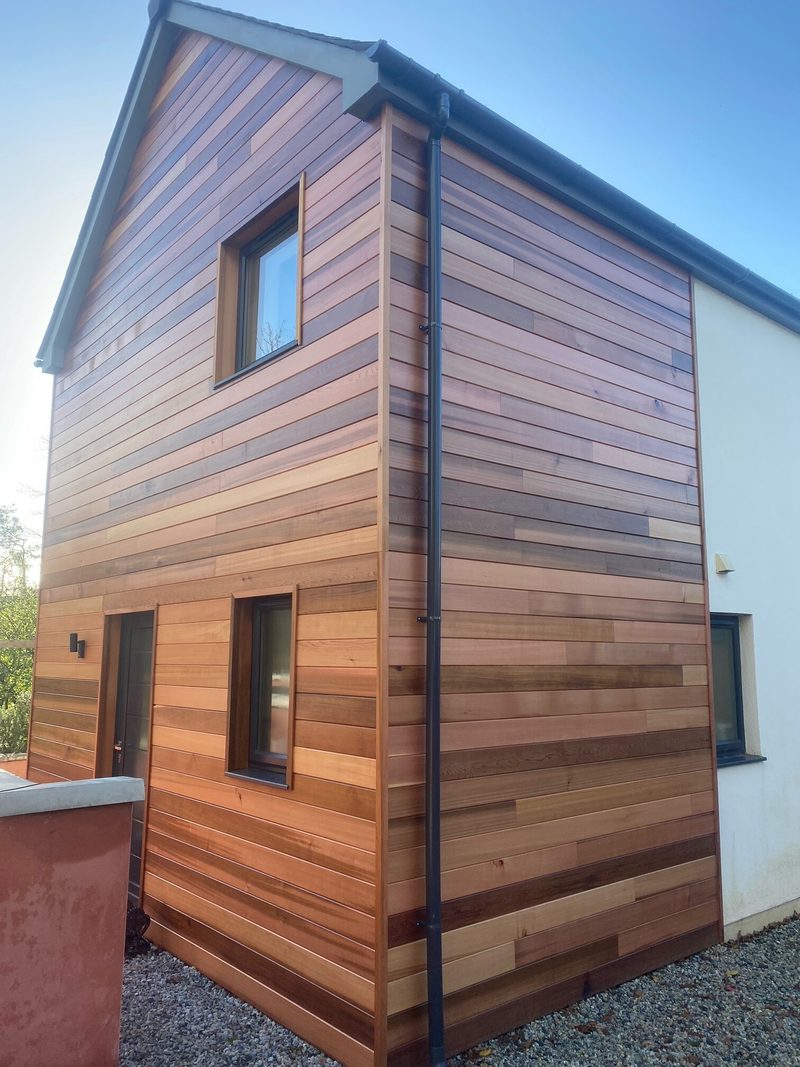
If you’re starting on a new cladding project, then a product like Owatrol Seasonite can be used. This protects the wood during its most vulnerable first year against moisture and greying, preparing it for further treatment later on.
4. Solid-colour paints
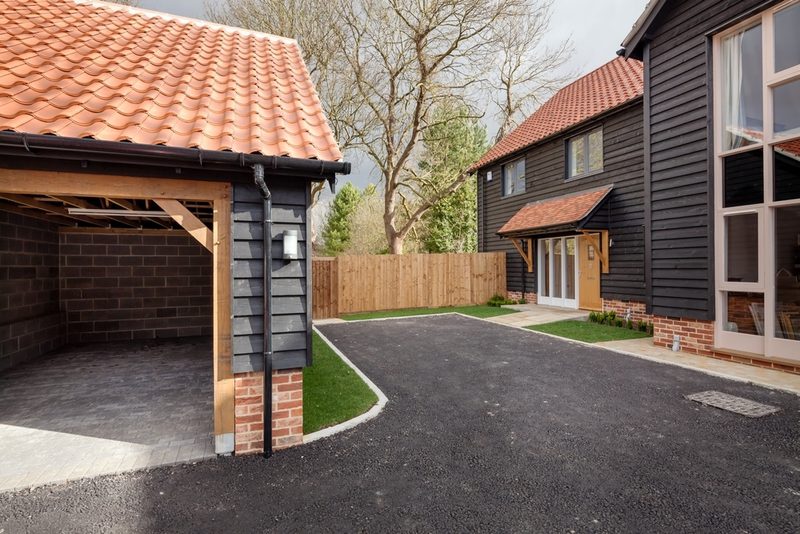
For the most long-lasting protection, an opaque, acrylic-based paint can be applied to coat the timber.
Products like this will almost completely conceal the grain of the wood. This is ideal if you’re wanting to take full control of the colour of your cladding — perhaps to make a daring all-black statement? The only downside is that you surrender much of the wood’s natural beauty.
Opaque coatings like this tend to require more top-ups to maintain their look. As with other stains, be sure to choose a quality penetrating product; many types of paint can bubble.
5. Factory treatments
Does applying your own treatments sound a little like hard work? Choosing a factory treatment ensures your timber will be treated during manufacture by a professional with the finest products using the best tools, techniques and technology.
Factory finishes afford huge freedom: you could choose a natural tone, a unique designer colour (such as smoke, bronze, slate or dove), the on-trend grey or even an ultra-dramatic charred look.
Particularly popular factory finishes are those by SiOO:X. Their patented treatment processes make use of silicone nanotechnology, delivering excellent outdoor performance. They are available in a range of colours, the most popular being clear, light grey and mid-grey.
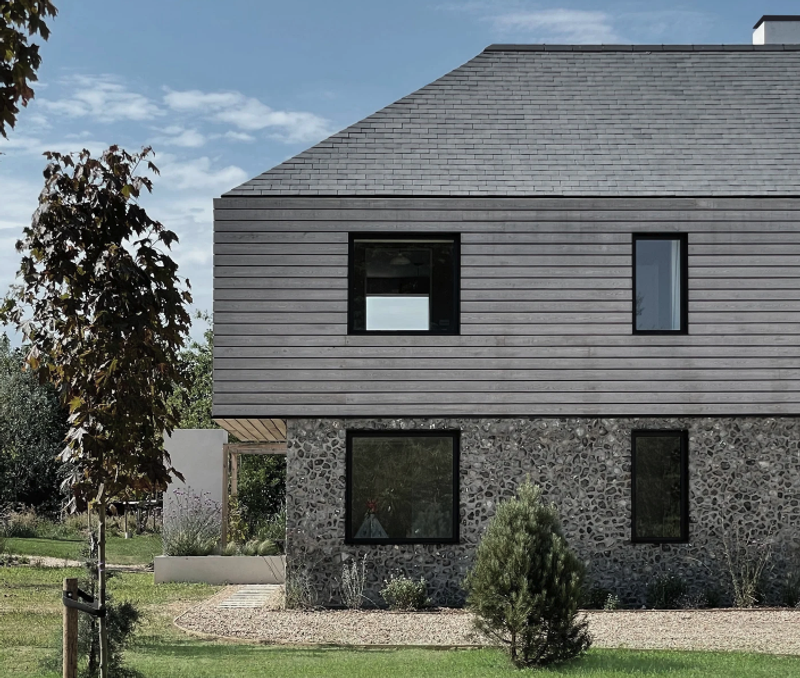
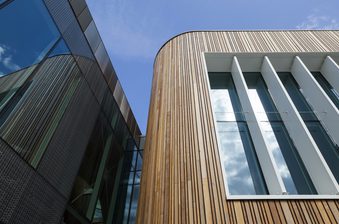
Teknoclad is another popular factory coating solution, seen here in this Thermo-Ayous shadow gap project in 'Stone Grey'.
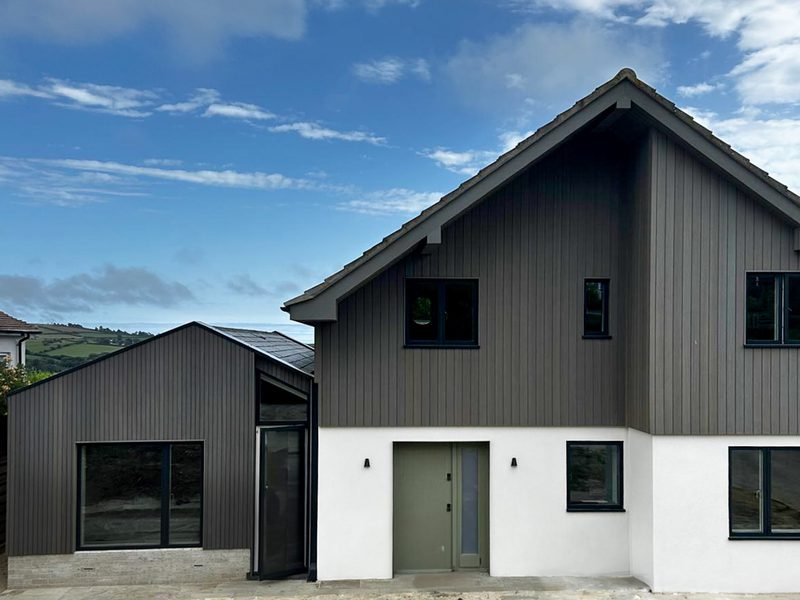
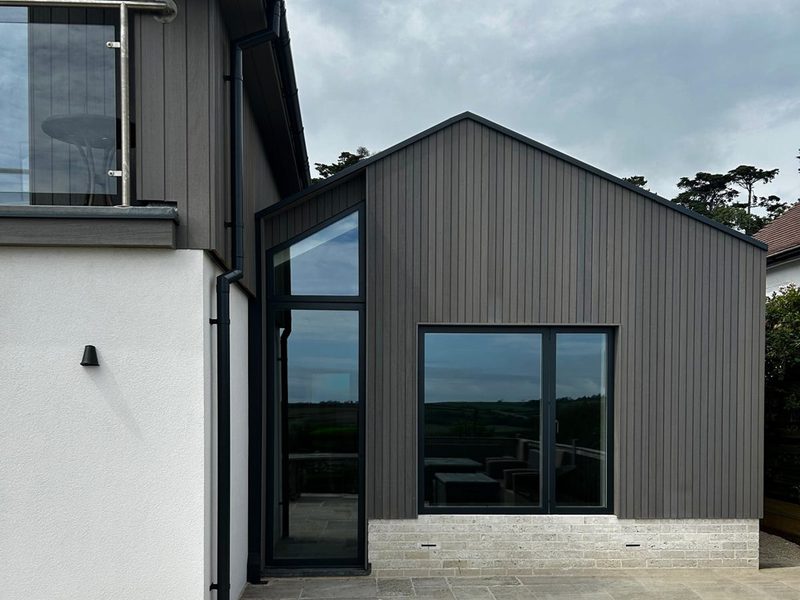
Timber cladding treated with SiOO:X wood protection system.
If this sounds interesting to you, we’ve written a more comprehensive guide to timber cladding factory treatments. Avoid all the hassle associated with applying your own finishes — leave it to someone else!
Applying treatments to timber cladding: considerations
Before or after installation?
Ideally, any initial treatments to timber cladding should be applied before installation — this allows for complete coverage of each piece. It can be a challenge to reach certain areas if doing so after installation.
Preparing the cladding
Make sure your wood is completely dry — a moisture content of 18% or less is recommended for minimising the risk of coating failure. Also, ensure the cladding is free of dirt, grease, grime and mildew. Stubborn mildew can be removed by scrubbing with a 50/50 bleach-water solution and then rinsing.
Ensure any previous coatings are removed — these can be stripped away with a product like Owatrol Net-Trol. A product like this will also restore grey cladding to its original colour and should be used before treatment if the cladding has already weathered for 12 months.
This preparation should ideally be done around two days before applying the treatments to allow ample time for drying.
Tools and applicators
Most timber cladding treatments can be applied with a brush, roller or sprayer. We’d recommend taking the time to use a large, soft bristle brush. This ensures the best chance of an even, consistent coating.
Of course, you’ll want to follow the directions for use on the product packaging when applying your treatments.
Ongoing maintenance of exterior timber cladding
Timber is a natural product. This is part of its beauty, but it does mean it can benefit from some occasional TLC.
Inspect your cladding twice per year and try to spot any fading in the finish. It might gather dirt, particularly over winter. To keep it looking tip-top, consider a gentle springtime scrub down with a sponge and some warm, soapy water.
Follow the product manufacturer’s guidelines on reapplication of any treatments. If your cladding is regularly exposed to rain and UV, the maintenance and reapplication period might be as short as two years, or as high as five years if relatively shielded.
How long does timber cladding last for?
With professional installation, proper treatment and timely maintenance, a quality, naturally-durable timber cladding species like Western Red Cedar, European Oak or Siberian Larch can last for more than 30 years.
Planning a timber cladding project?
We’re a leading UK timber cladding specialist with decades of experience providing products for projects of all shapes and sizes.
We offer a selection of stunning sustainable species, designer profiles and high-performance pre-treatment options — take a look at some of our recent case studies for a flavour of what might be possible.
Whether you’d like to start your project or you have a few questions to ask our team, don’t hesitate to get in touch using the button below.
